
Vinyl Decal Application & Removal
How to Apply or Remove Vinyl Decals

Vinyl Decal Application:
Step 1.
Completely clean and dry the desired application surface.
Step 2.
Carefully peel the backing paper from the decal at a sharp angle.
Step 3.
Align the decal and press it onto the desired surface. Firmly run a credit card across the transfer tape to make sure the decal adheres to the surface.
Step 4.
Slowly peel the transfer tape from the top of the decal. If any part of the decal starts to come up with the tape, run over that part of the decal with a credit card and try to peel the tape again.
Removing Vinyl Decals:
A razor blade or scraper may be used to remove decals from glass, such as mirrors, car windows, and storefront windows. *Do not use a blade or scraping tool on any surface that could be scratched or damaged.
For removing decals from the surface of electronic devices, use your fingernail to peel up the edges of the decal, being careful not to scratch the surface.
For matte wall decals, peel the decal as you would from an electronic device.
For glossy wall decals or stubborn matte wall decals, a blow dryer may be used to heat the decal and aid in removing it.
Our decal selection:
www.suttonhollowdesigns.com/Store/Decals-c56310059
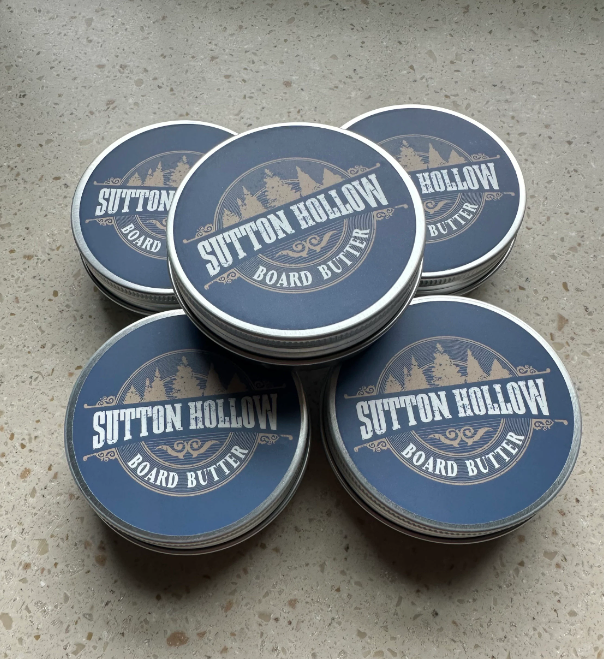
Wooden cutting boards are essential kitchen tools, but maintaining them properly is key to ensuring their longevity. One way to keep your cutting boards in top condition is by using organic cutting board butter. This specially formulated treatment not only extends the life of your cutting board but also offers numerous other benefits.

When it comes to gift-giving, finding something thoughtful, unique, and personal can be a challenge. In a world full of mass-produced items, a custom wooden sign stands out as the perfect blend of creativity, sentimentality, and craftsmanship.
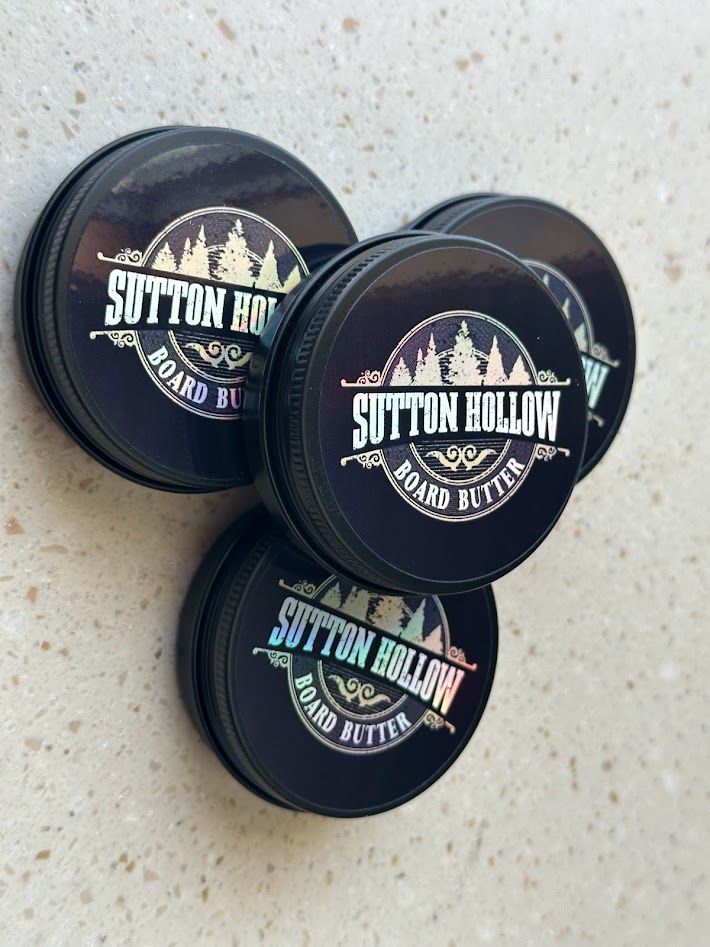
Using a wood conditioner on cutting boards, wooden bowls, and utensils helps to preserve their quality, maintain their appearance, and ensure their safety for food preparation.
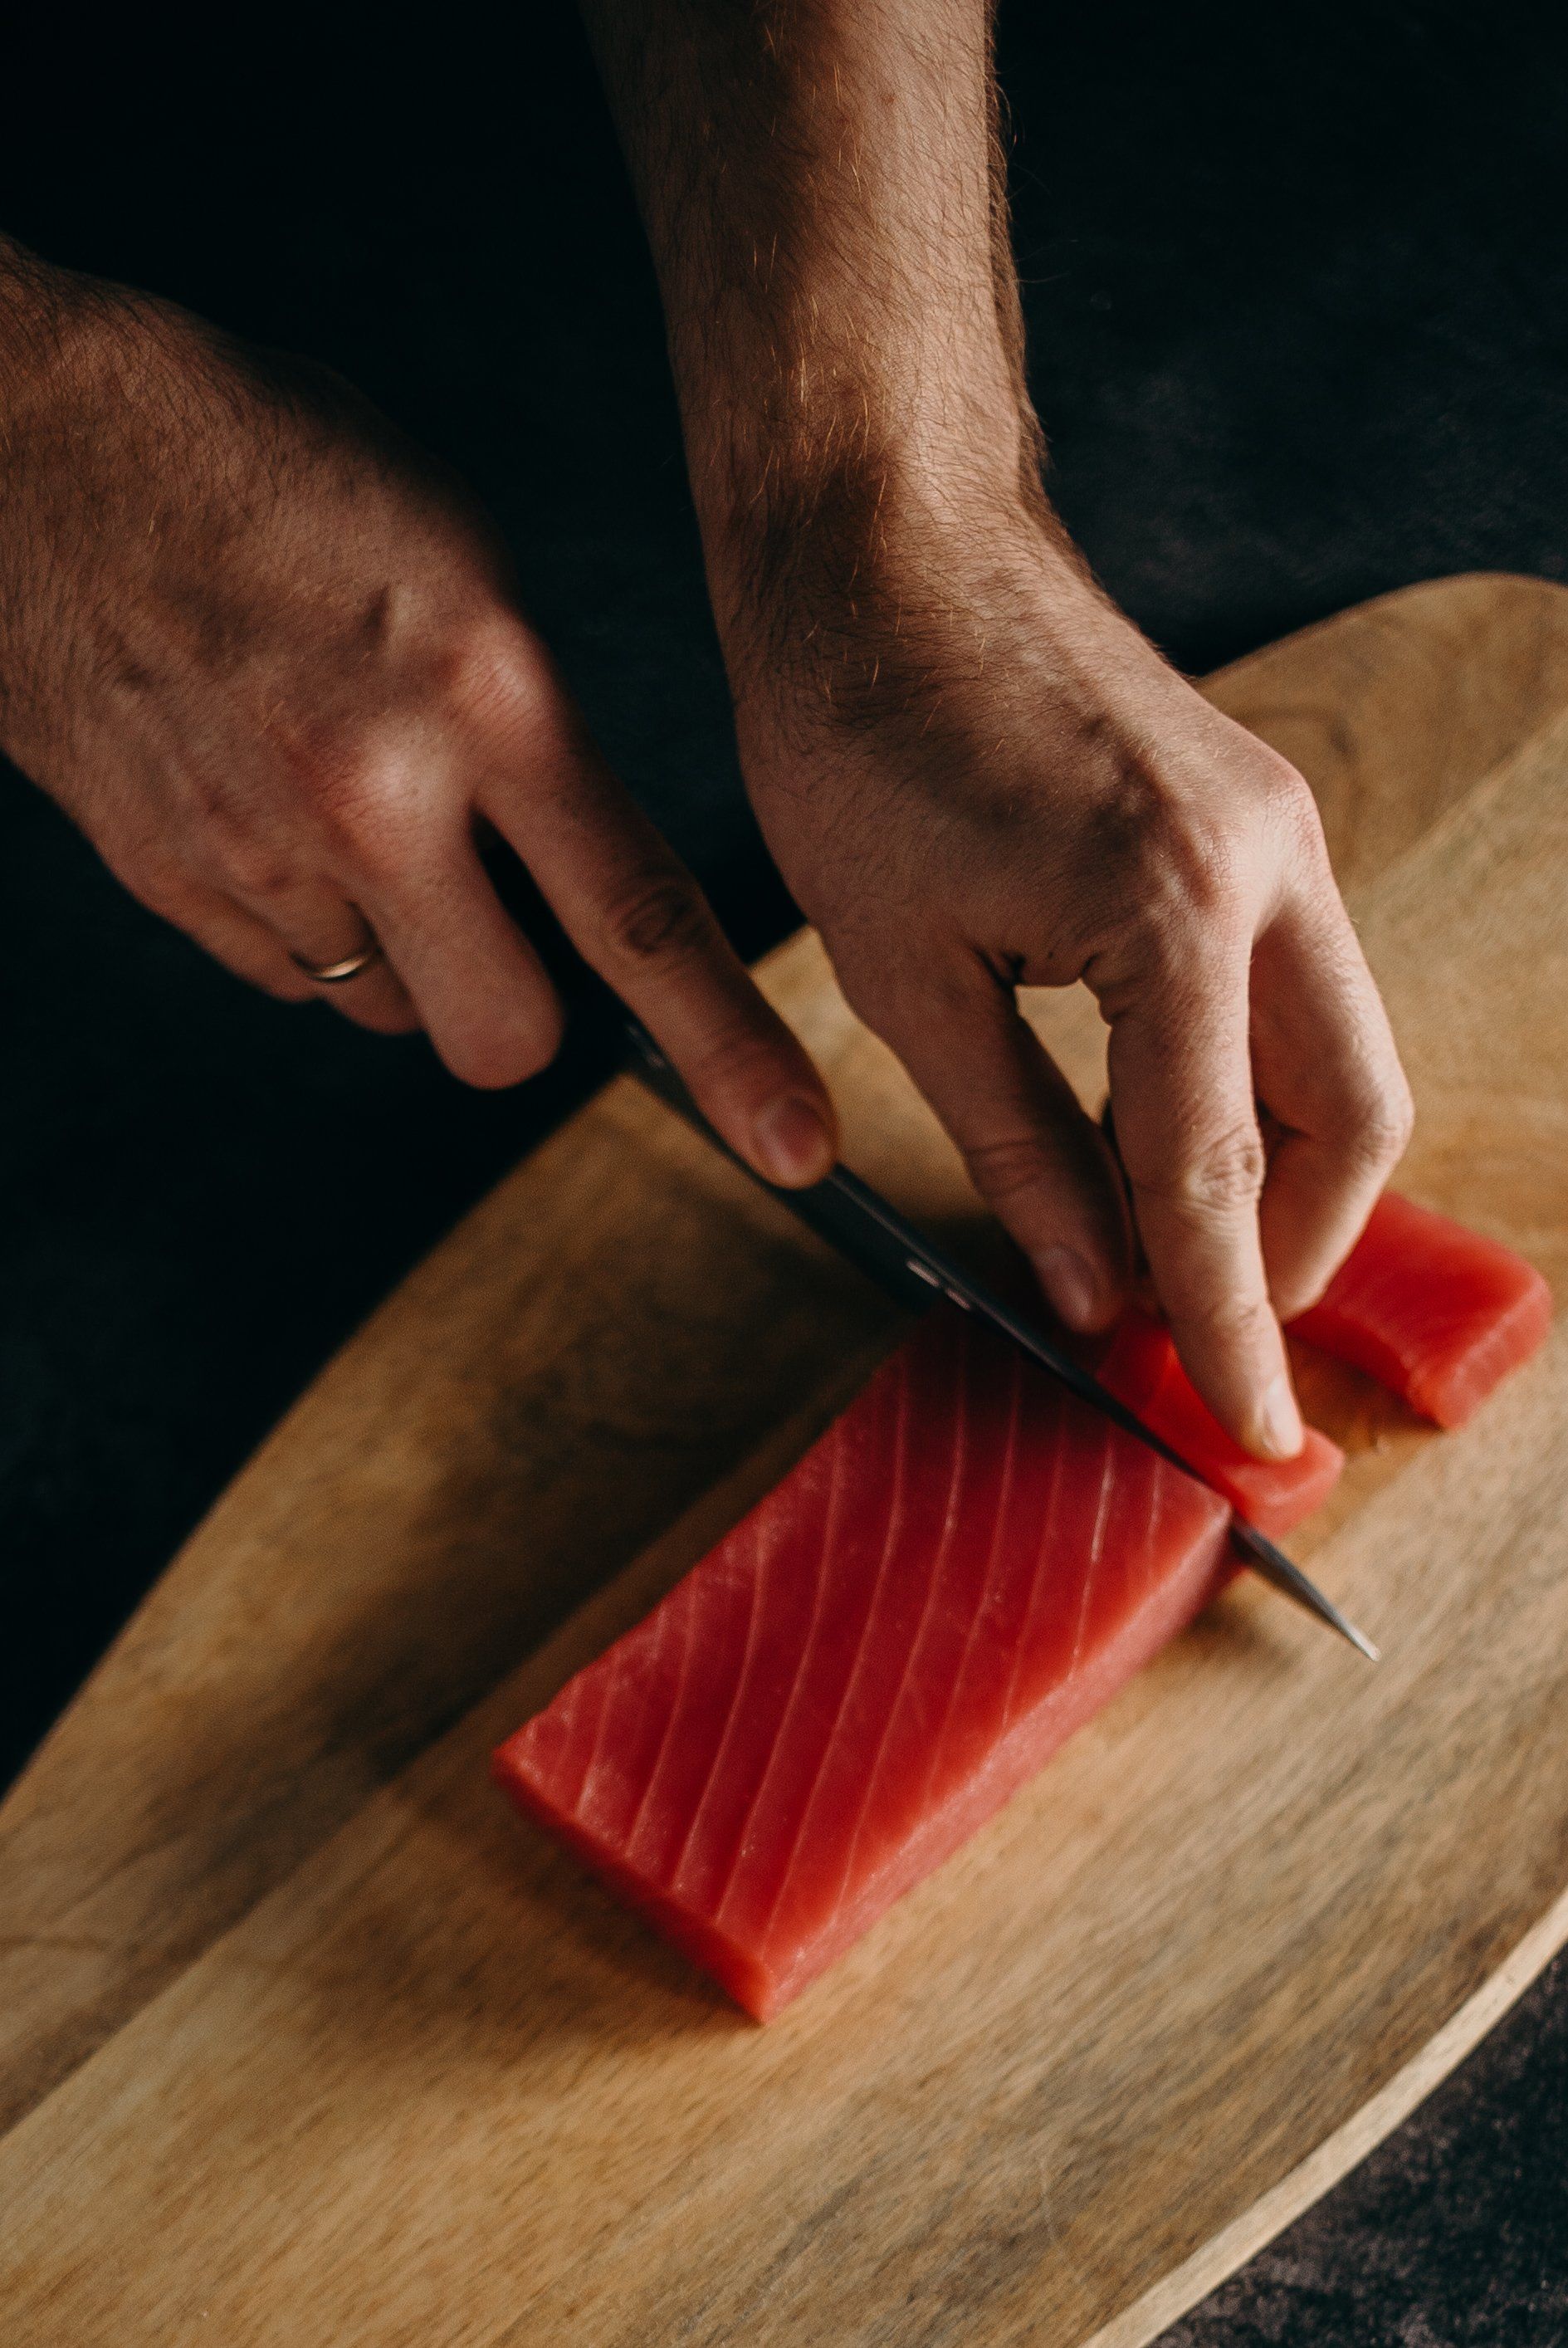
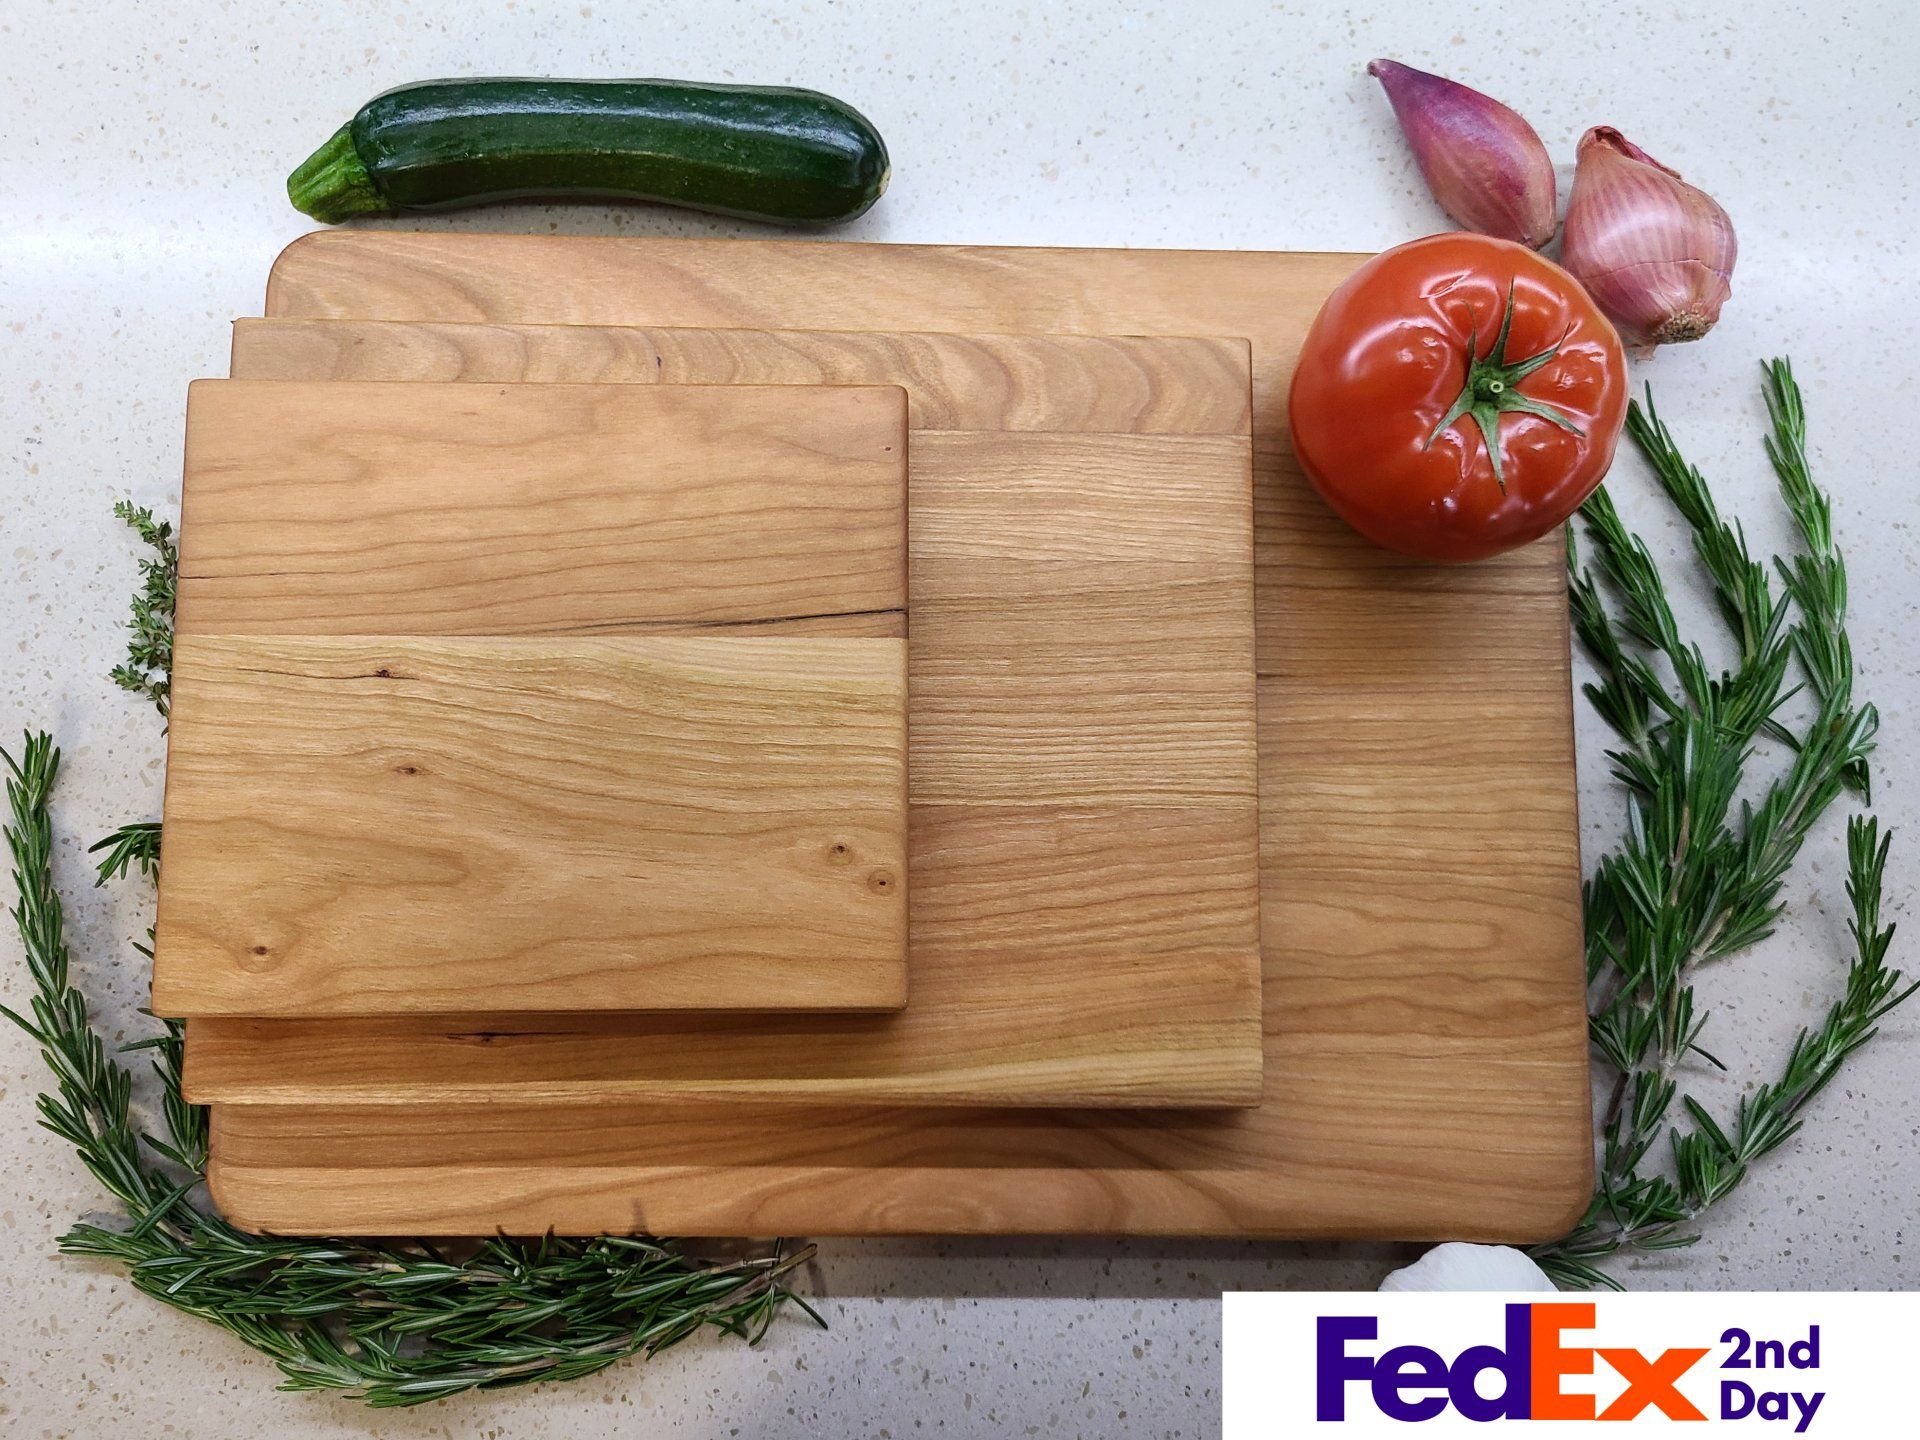
Beyond the aesthetic appeal, wood cutting boards offer numerous advantages, particularly when it comes to being knife-friendly.
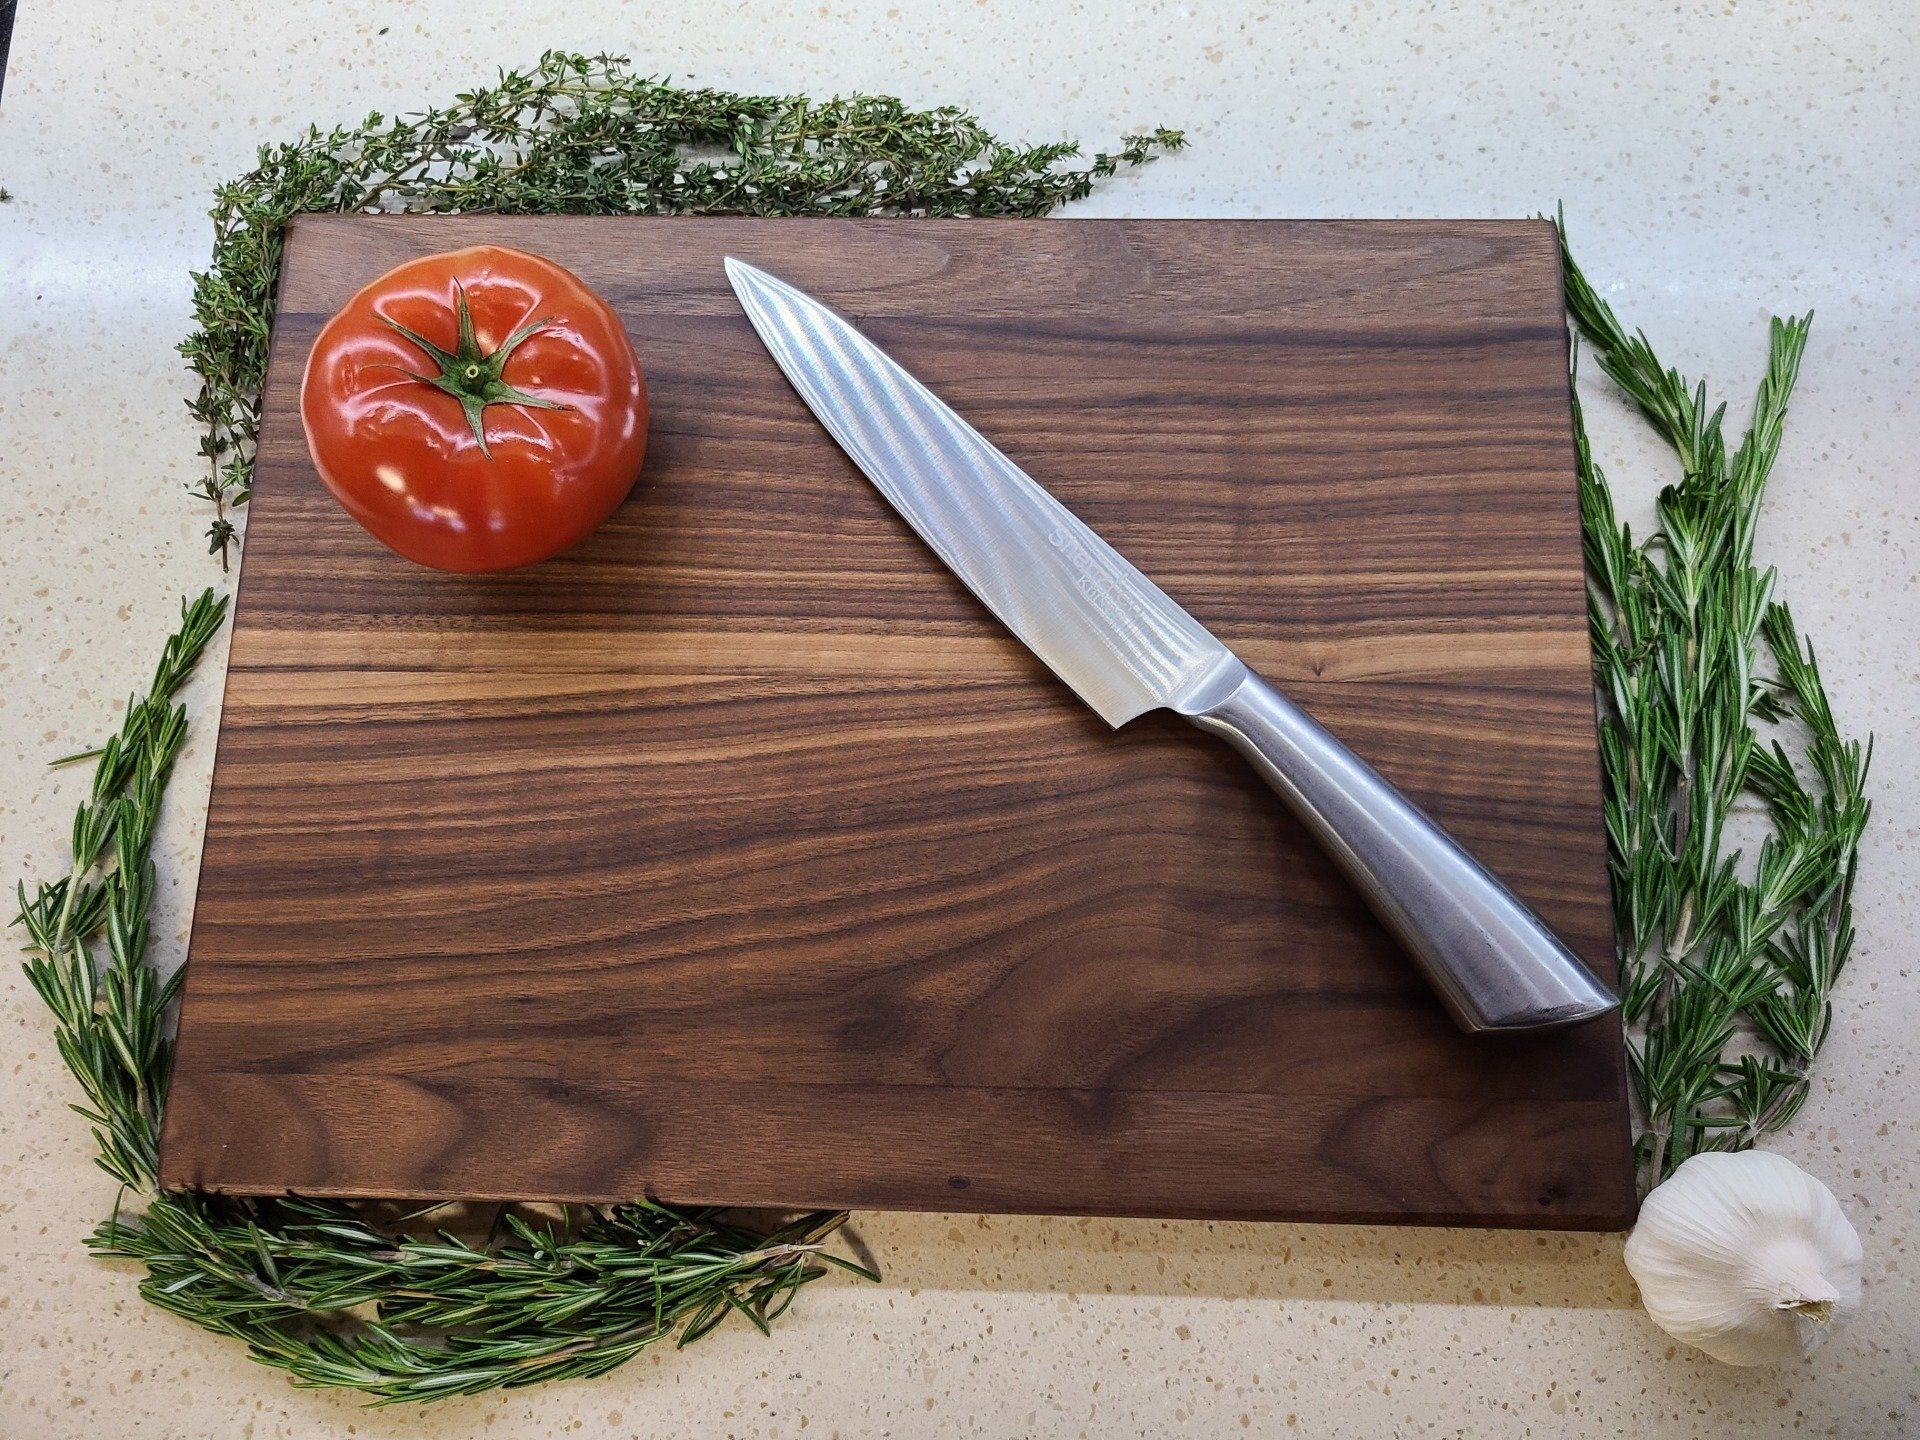
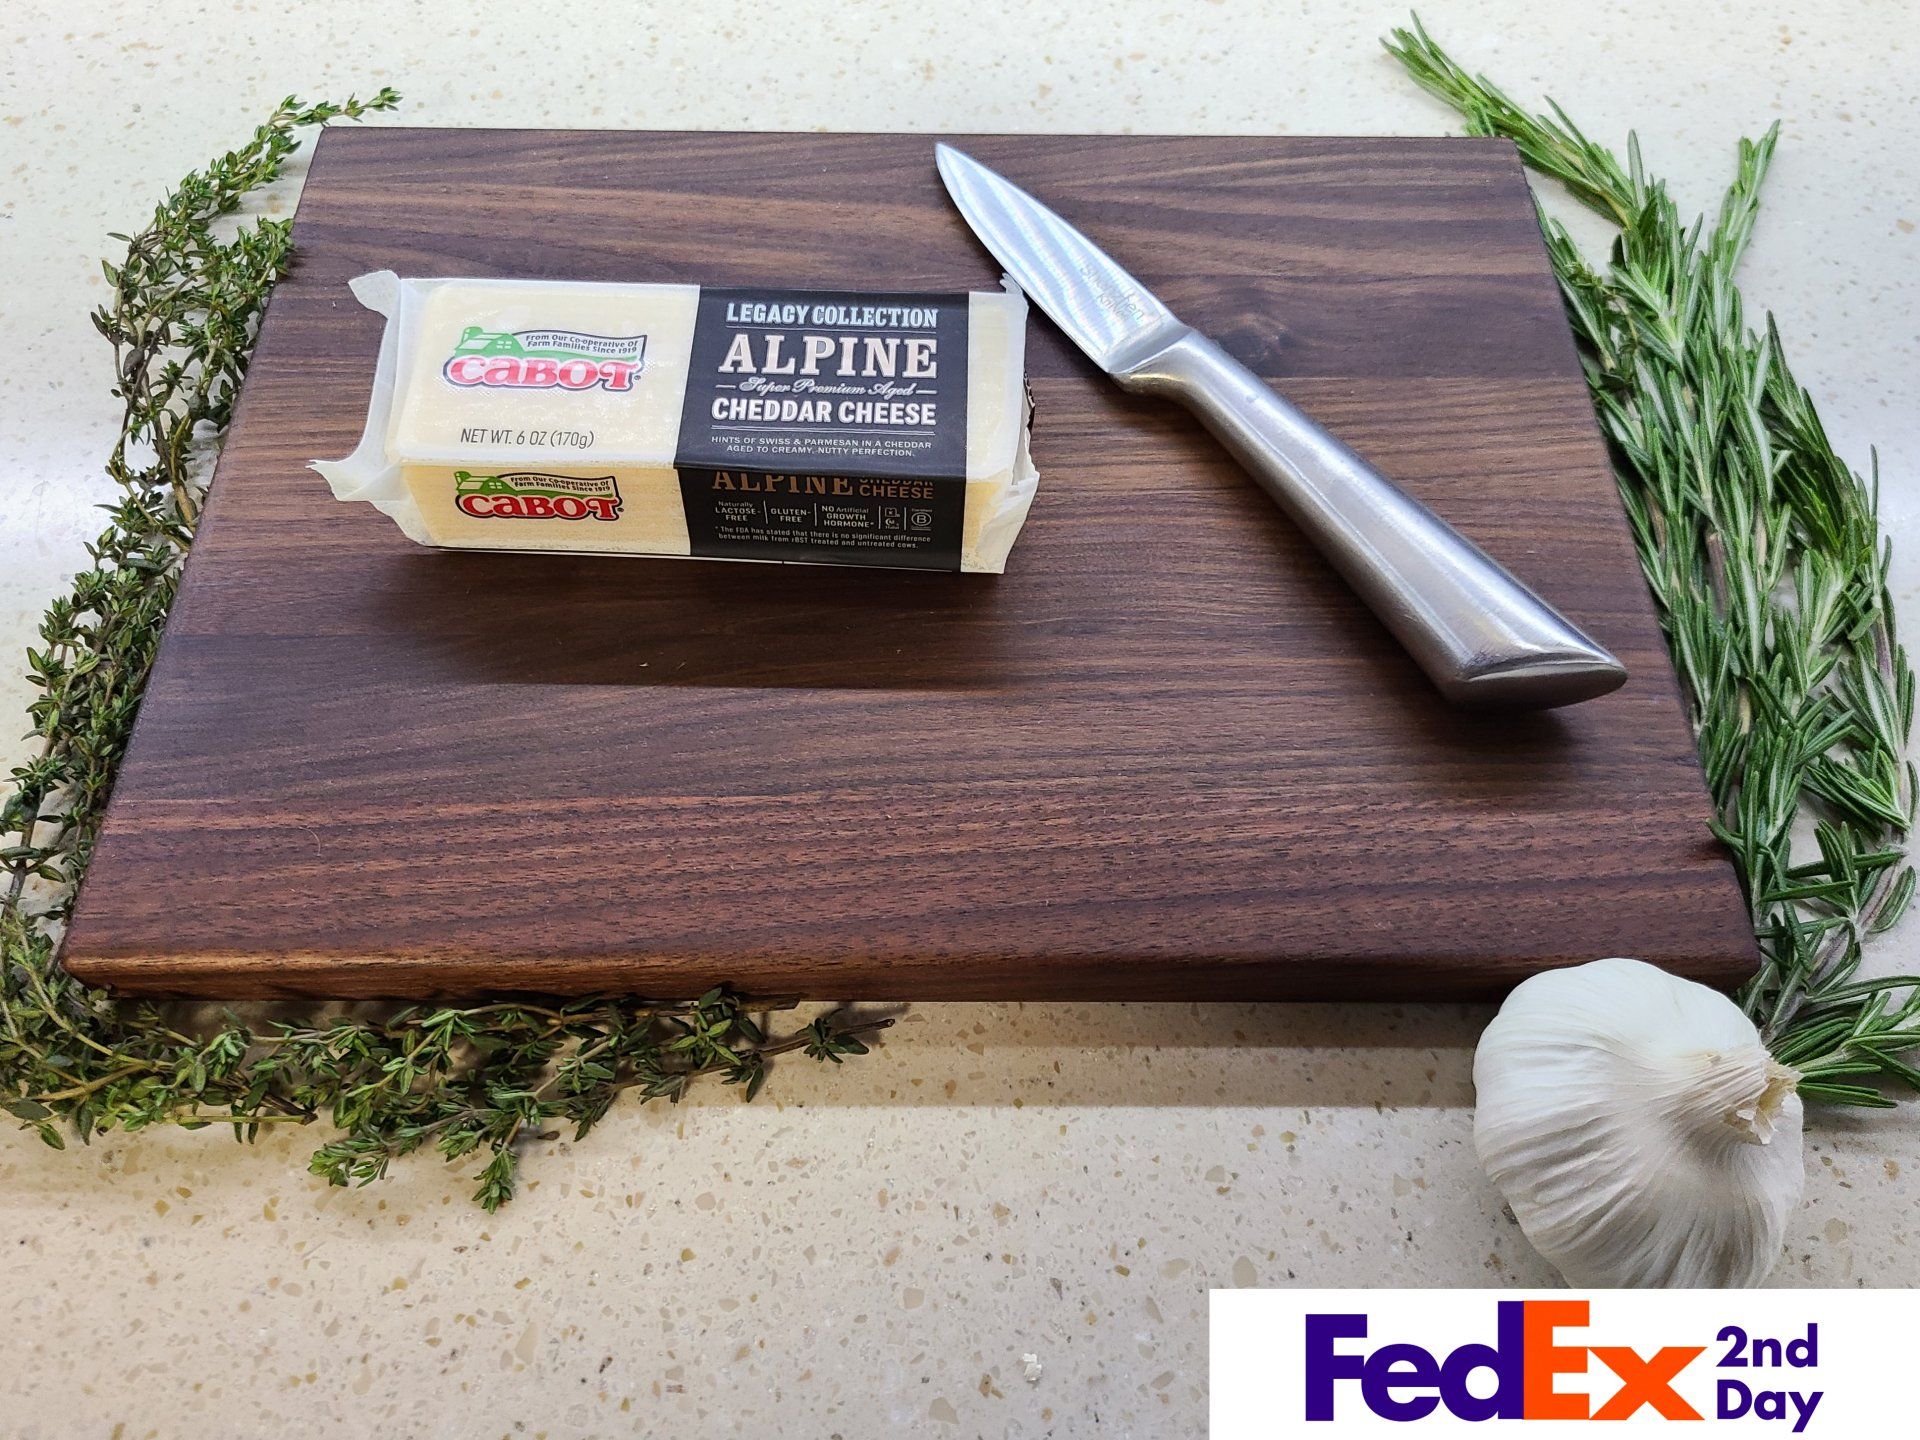
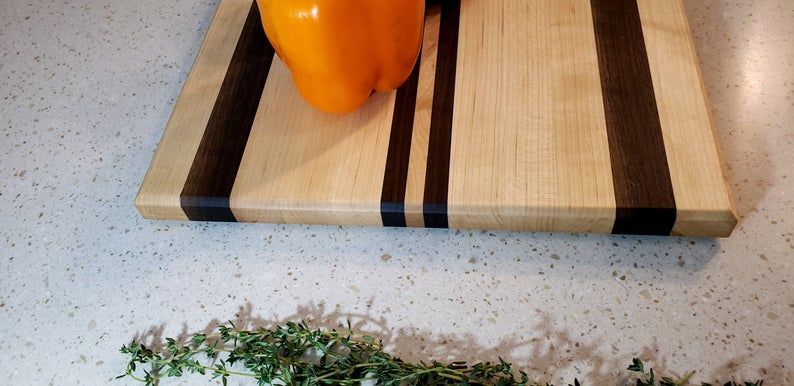
Are you tired of your flimsy plastic cutting board warping and getting scratches all over it? It might be time to upgrade to a more durable and stylish option, like a walnut wood cutting board. In this blog article, we'll explore the benefits of using a walnut wood cutting board.
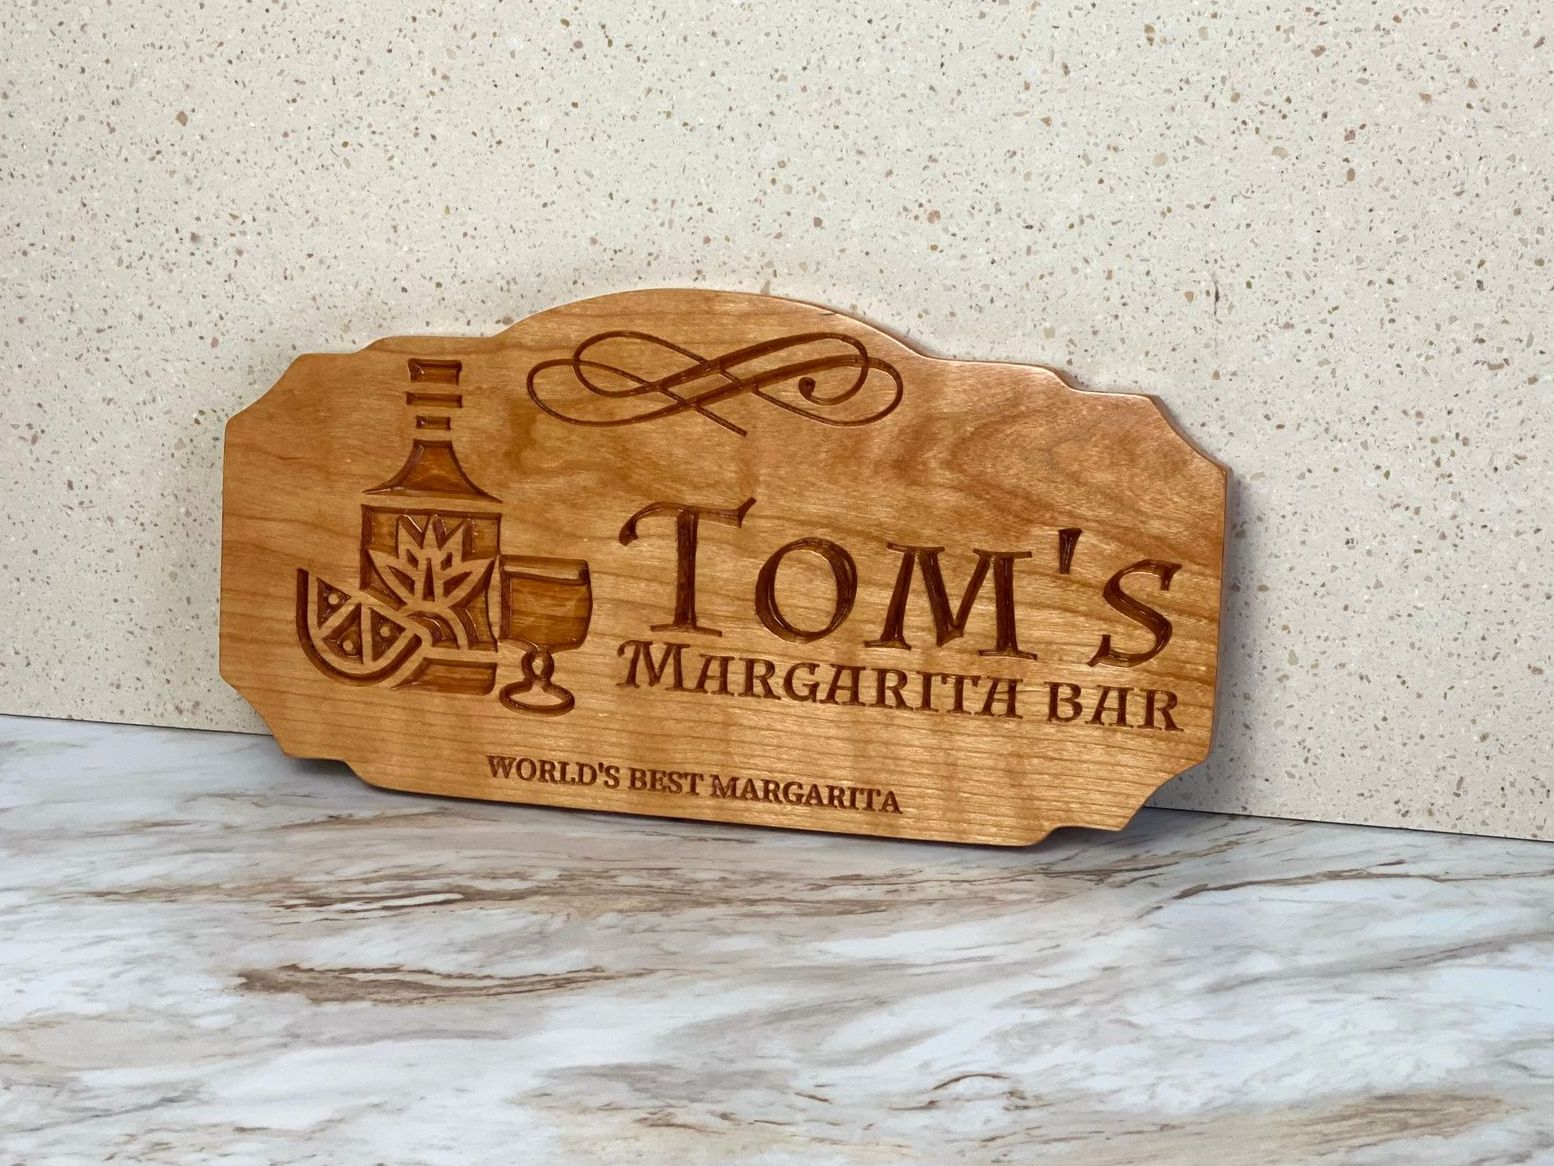
Wooden signs are not only aesthetically pleasing, but they also add a sense of character and warmth to any space. In this blog article, we'll explore the benefits of custom-made wooden signs and how you can incorporate them into your decor.
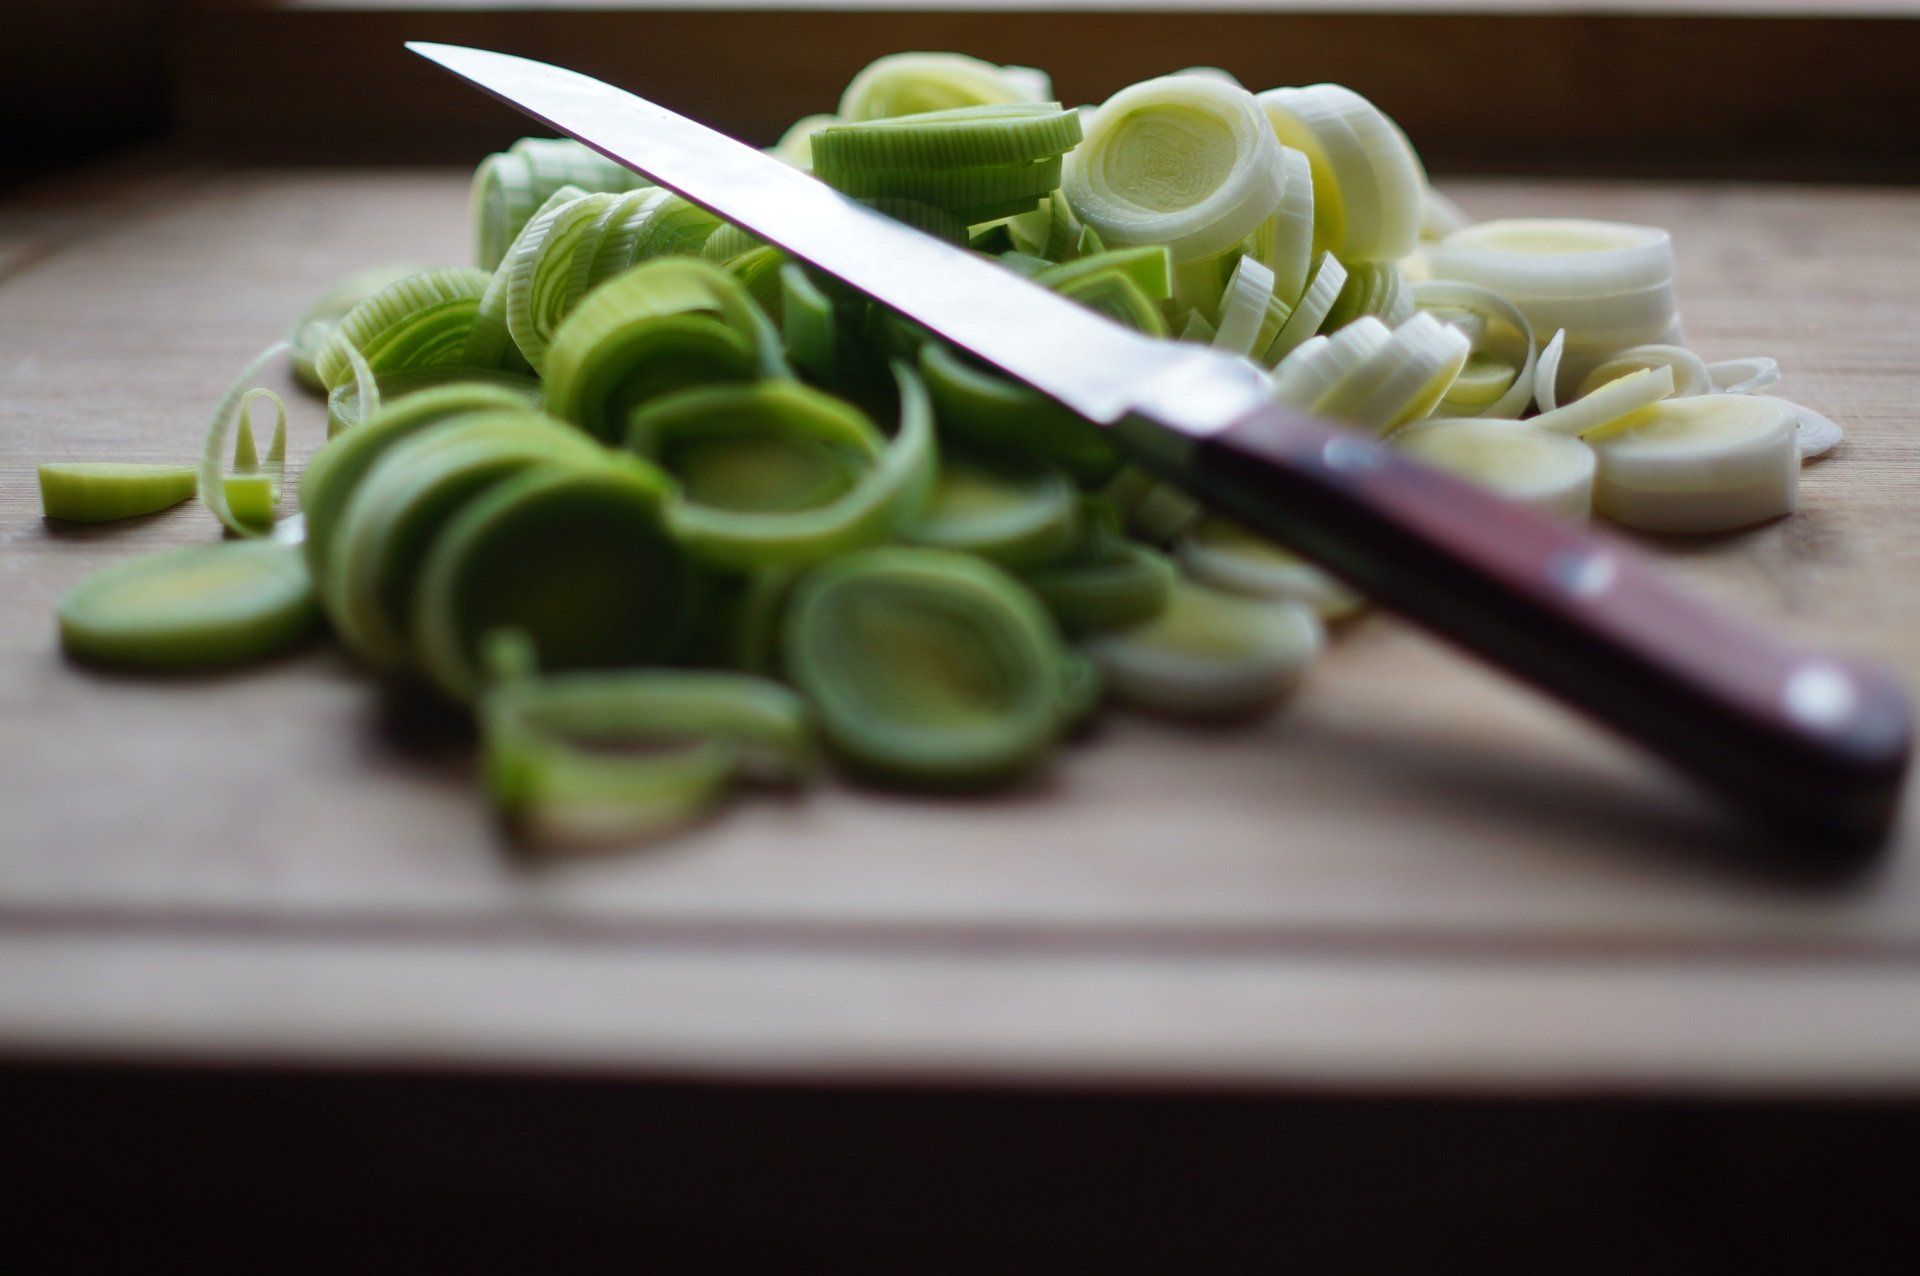
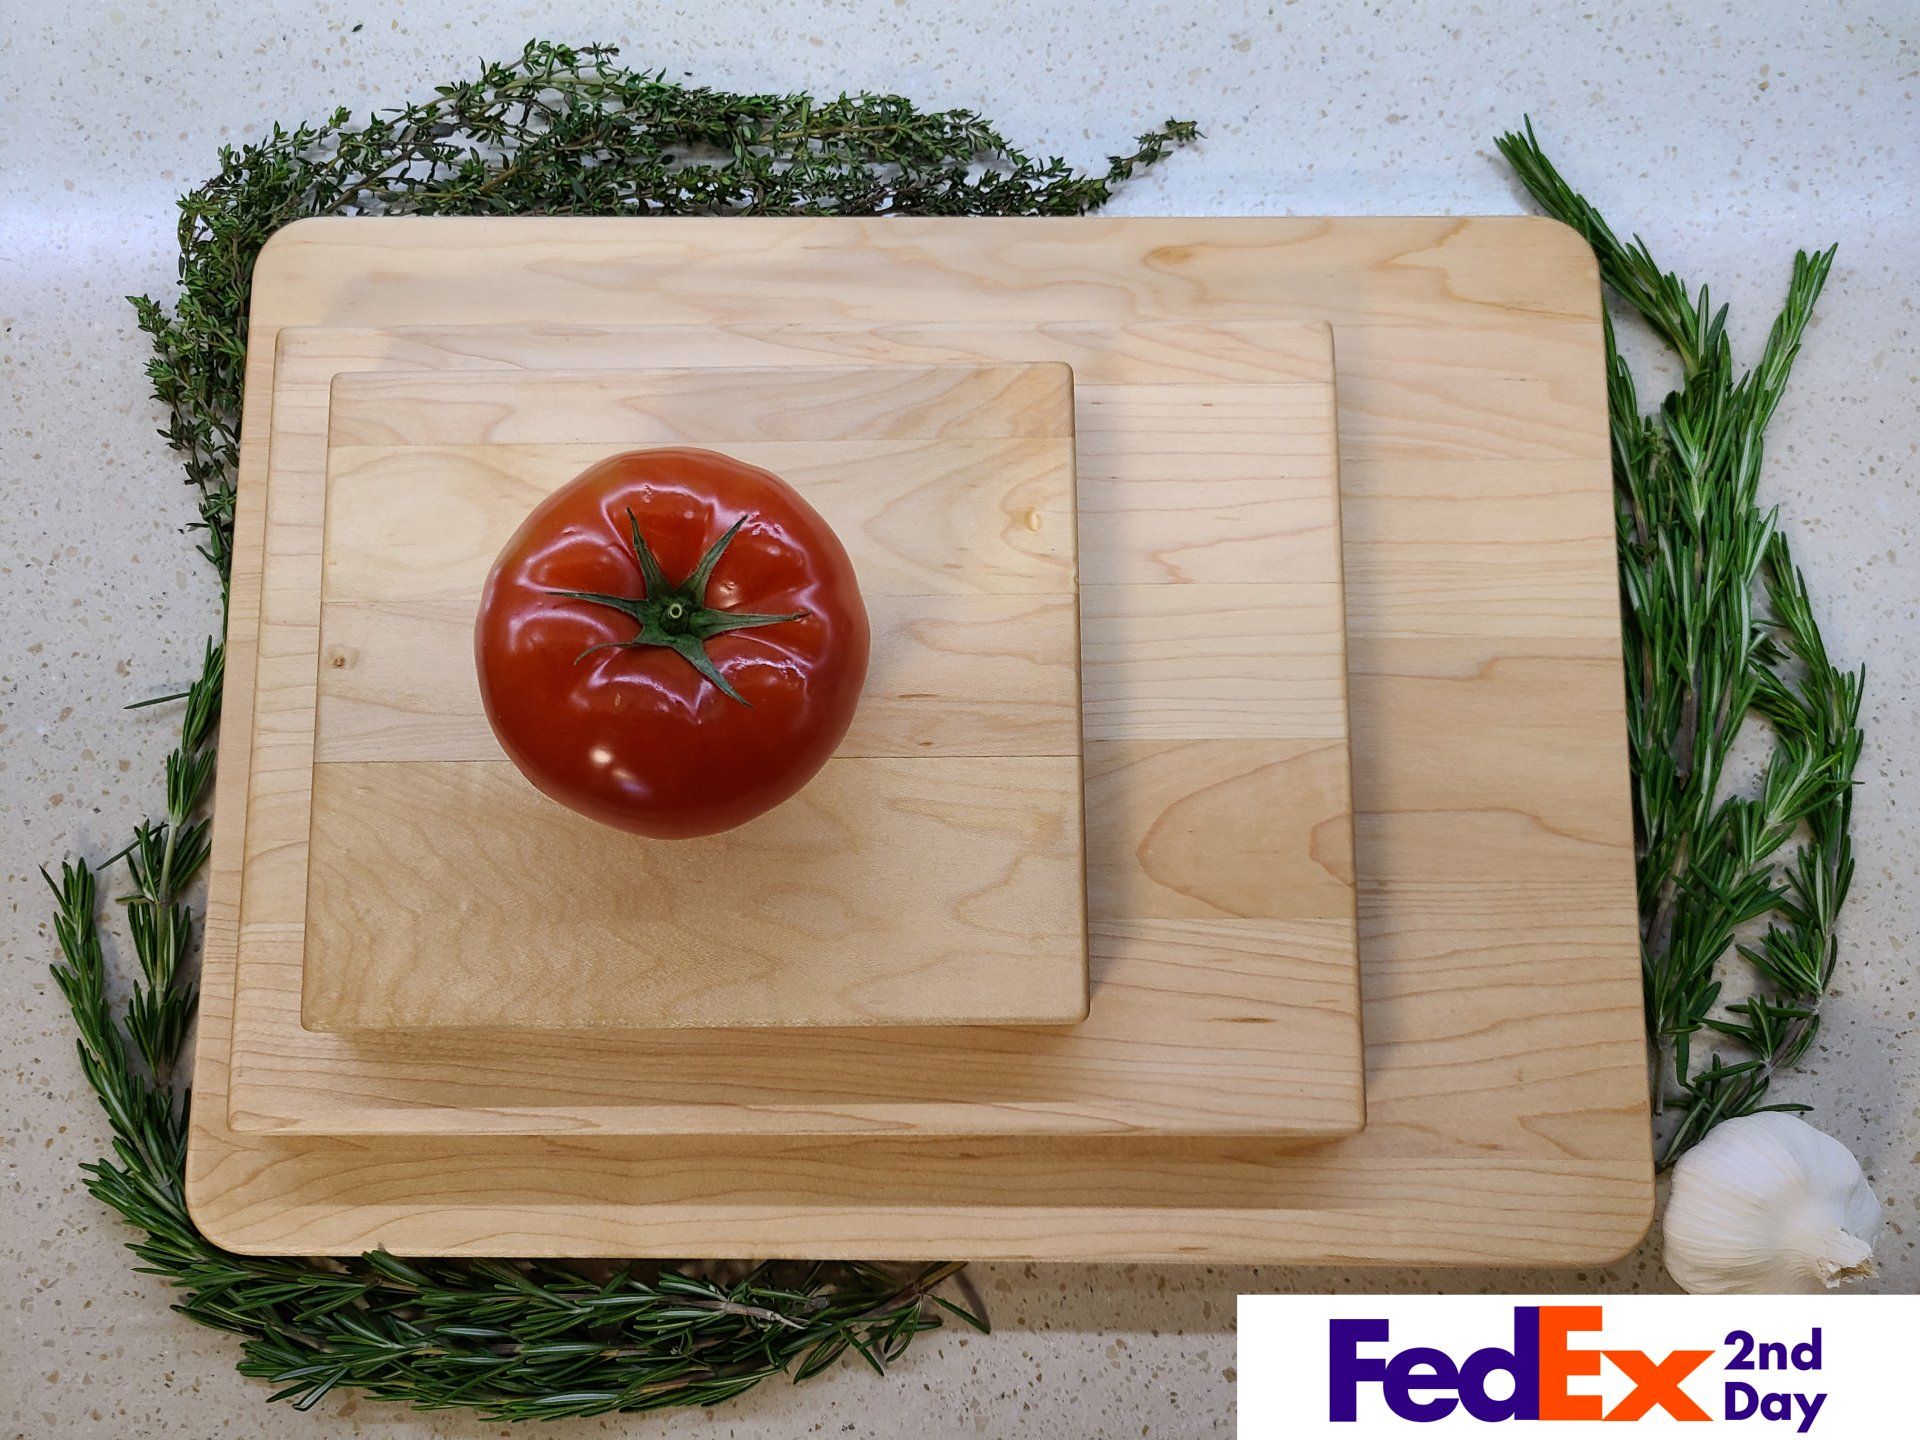
Using a wooden cutting board can be a great choice for your kitchen, as it is durable, knife-friendly, aesthetically pleasing, eco-friendly, and can even have anti-bacterial properties.
Maintaining a wood cutting board is a quick and easy task that will help keep your board sanitary, looking new, and extend the life of your board.
Sutton Hollow Designs is now making Board Butter. This product allows you to easily care for your new wood cutting board or even other wooden items you may have.
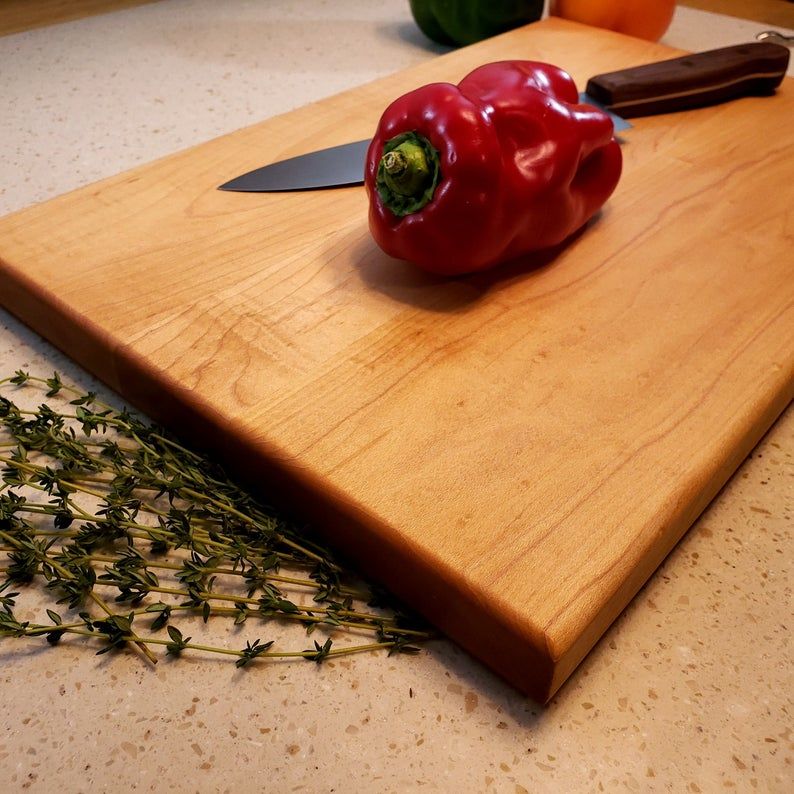
Apply a good amount of food safe mineral oil to the entire surface of the board and let it soak in. You can also use a beeswax/mineral oil mixture. This will make the board much more moisture resistant, while keeping the wood lubricated enough to avoid drying out and warping. All of our cutting boards are seasoned before you receive them for your convenience and to protect the board.